Project Users
To be able to work with Keboola, each user needs to have the following:
- Platform-wide Keboola account
- Access to a specific project
Each user is, system-wide, identified by their email address. This means that you need to enter correct email addresses for existing users. Be especially careful about company aliases; from Keboola’s point of view, they are different users.
All operations performed by a user are technically done using the master token. This is important for tracing operations done by that user.
User Roles
Section titled “User Roles”There are the following user roles available:
- Share – the user has full administrative access to the project, including sharing data in the Data Catalog. Note: The Share role can only be granted by an organization member.
- Admin – the user has full administrative access to the project.
- Guest – the user can access all project data, but cannot
- change project settings (name, description, etc.);
- delete the project;
- manage users;
- manage API tokens;
- permanently remove configurations in trash;
- create an external authorization link; and
- change the name, the schedule, and the disabled status of an existing flow.
- ReadOnly – the user can view all project data, but cannot
- create, modify or delete configurations of components, flows and transformations;
- run any components, flows and transformations;
- import and modify data in Storage;
- use Data Catalog;
- change project settings (name, description, etc.);
- create an external authorization link;
- delete the project;
- manage users; and
- manage API tokens.
- Developer – the user can write to any development branch but cannot edit the production branch.
- Reviewer – the user extends the Developer role with the right to approve merge requests (except for their own requests).
- Production Manager – the user has the right to
- merge the merge requests;
- manage configuration state in the production branch;
- link/unlink a bucket;
- manage production credentials (in variable storre);
- manage triggers;
- run jobs;
- manage notifications (for flows). However, they
- cannot make changes in development branches (edit configurations, etc.).
Notes:
The ReadOnly role is currently available on all stacks for projects with feature queuev2.
The Developer, Reviewer and Production Manager roles are currently only available when the feature of Governed Change Management is active.
If the Production Manager is also an Organization Admin, they can invite new members to the project and assign them the Production Manager role.
Inviting User
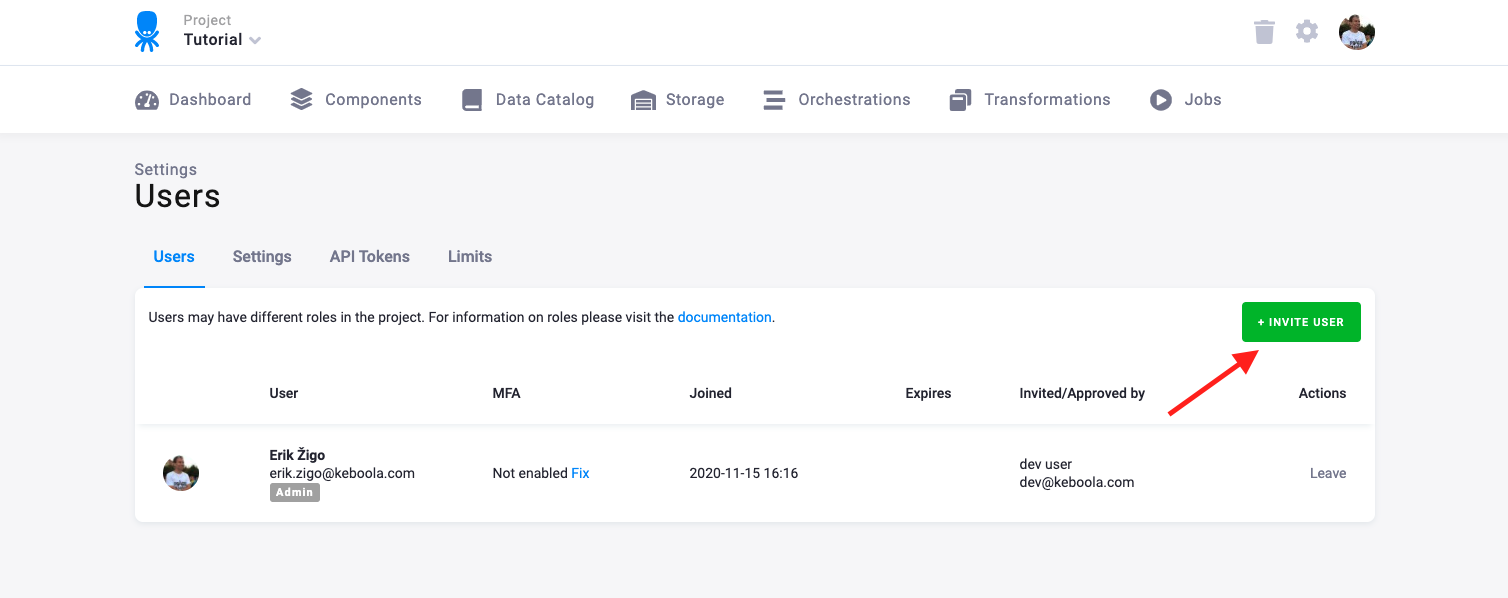
Section titled “Inviting User”If you want to add a new user to the project, go to Users & Settings in the project and click the Invite User button:
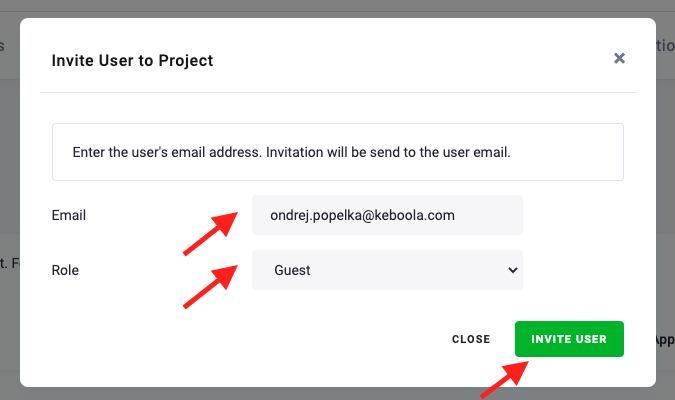
Enter the user’s email and grant them a role in the project:
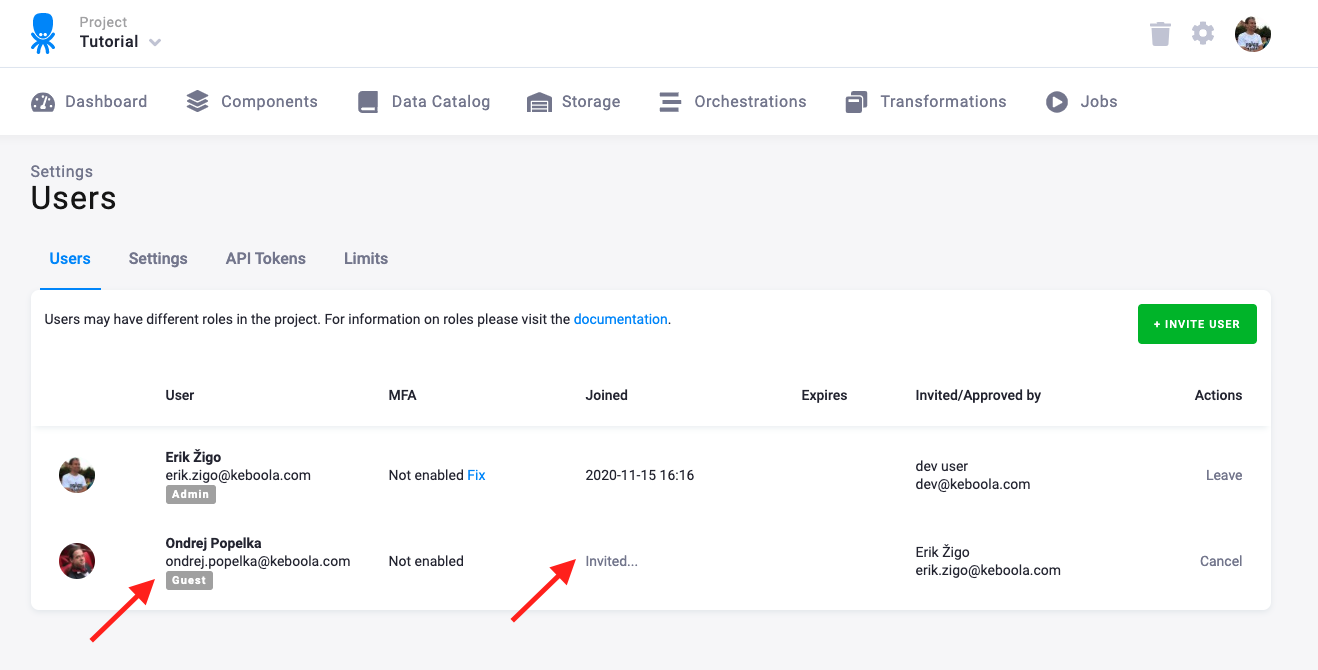
The user is listed among the project users with a pending invitation.
If you delete an invitation before it is accepted by the invitee or if the invitee declines it, they will never become a member of the project. The steps that follow an invitation differ depending on whether the user already exists or is new.
New User
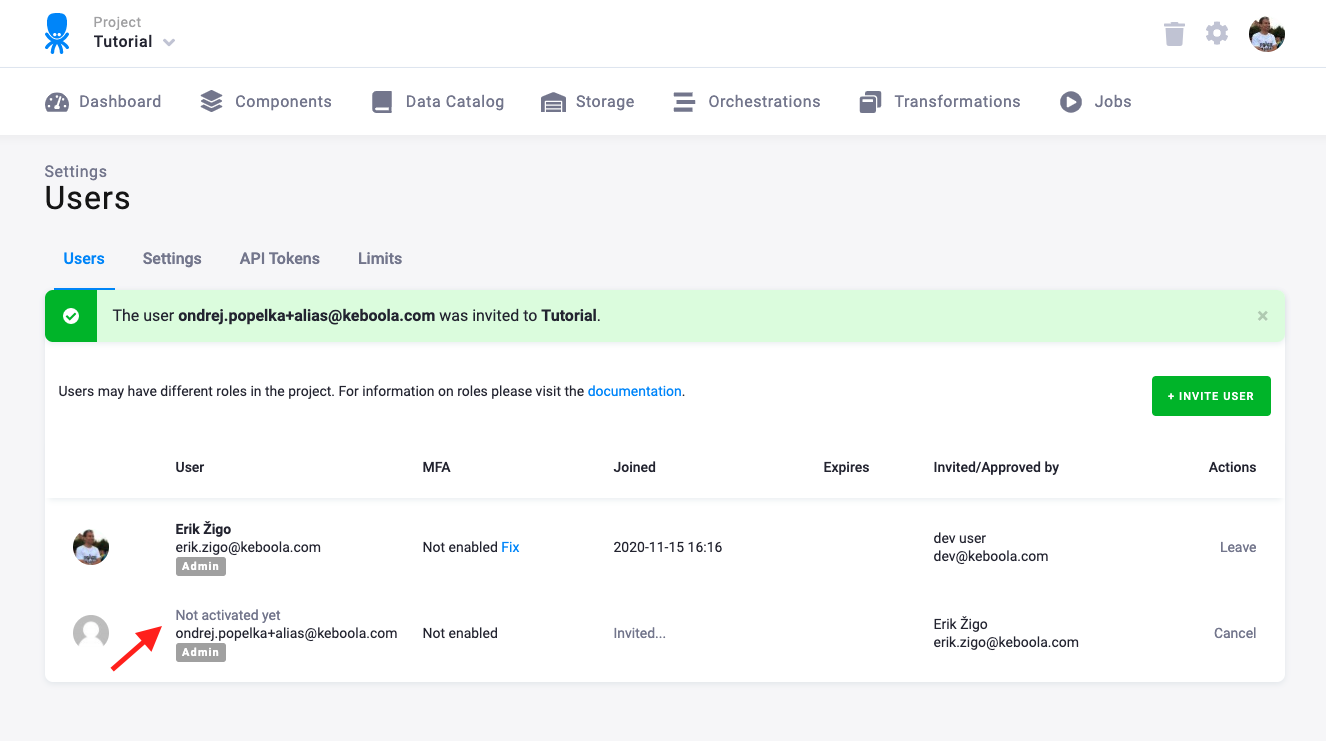
Section titled “New User”If the user does not have a platform-wide Keboola account yet, their name in the user list will be
labelled as Not activated yet:
They will receive an invitation email:
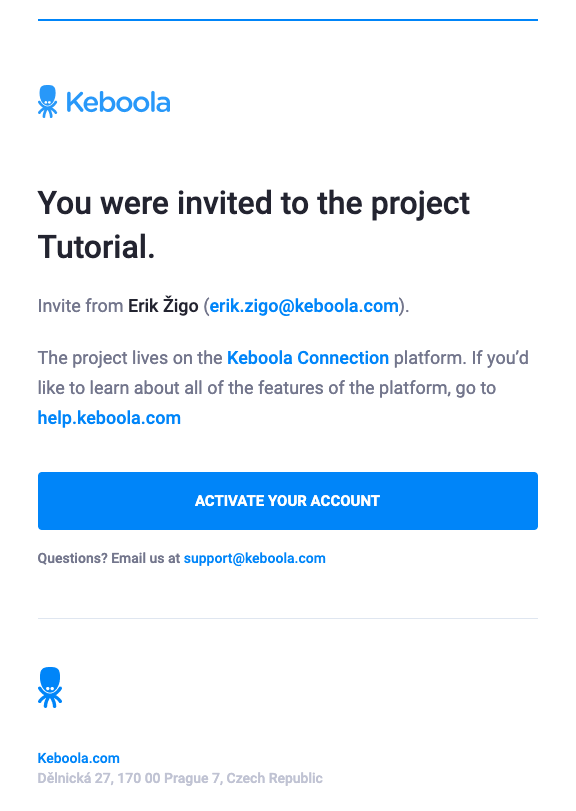
When they click the Activate Your Account button, they will be taken to the activation form:
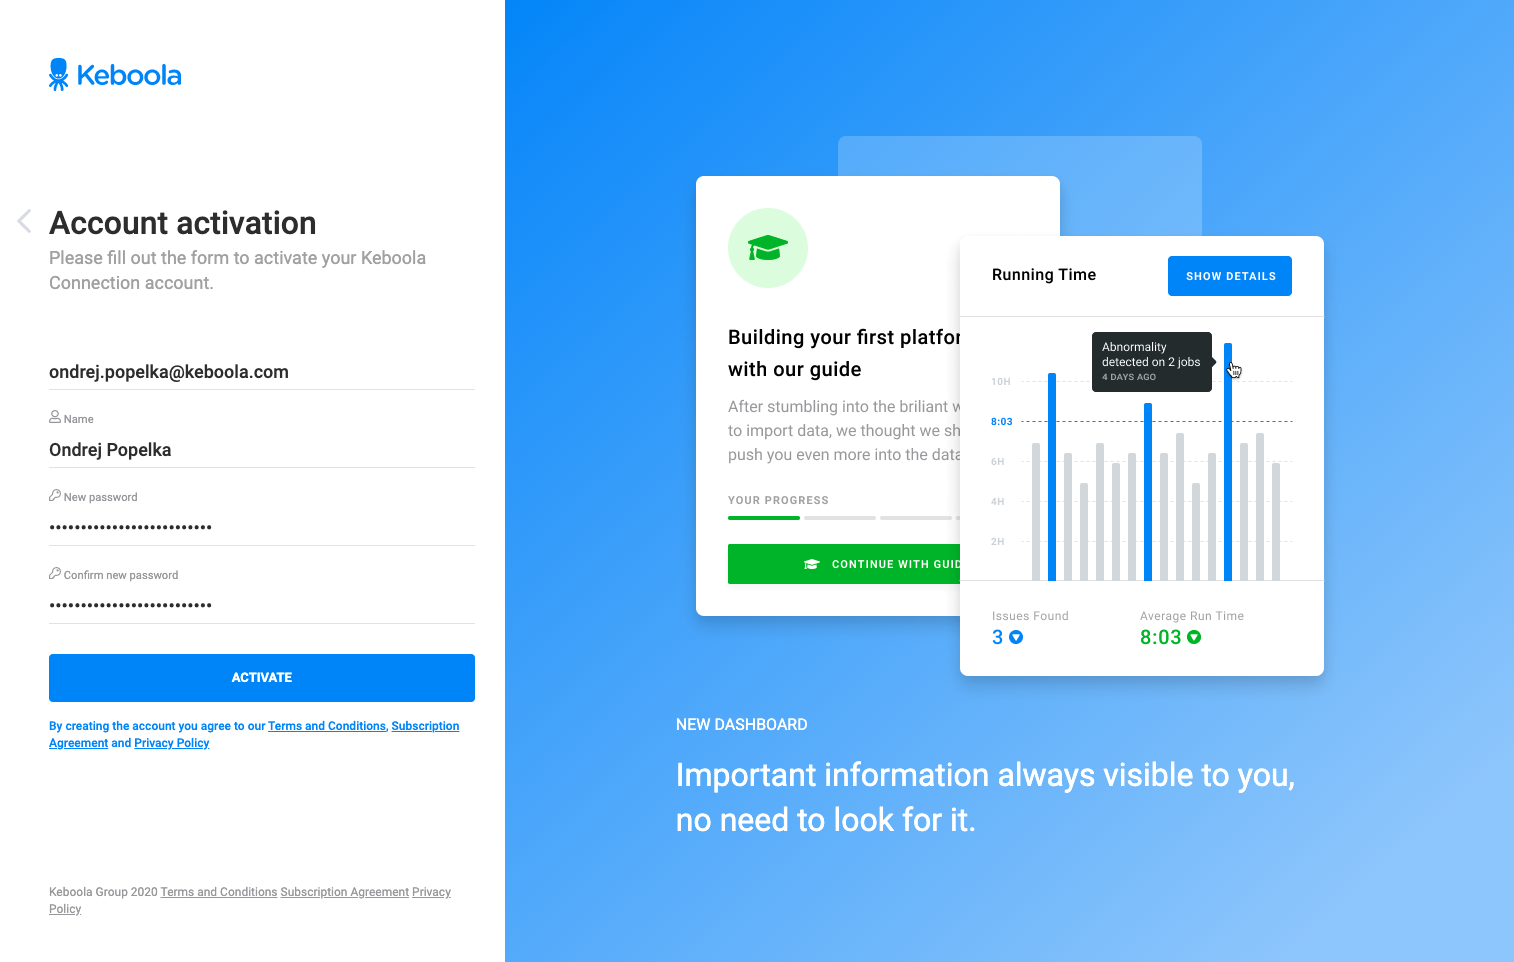
After filling it in, the login form appears. They can immediately login to Keboola and see their invitation to the project they have been invited to. Once they accept it, you will see their chosen screen name in the user list:
Existing User
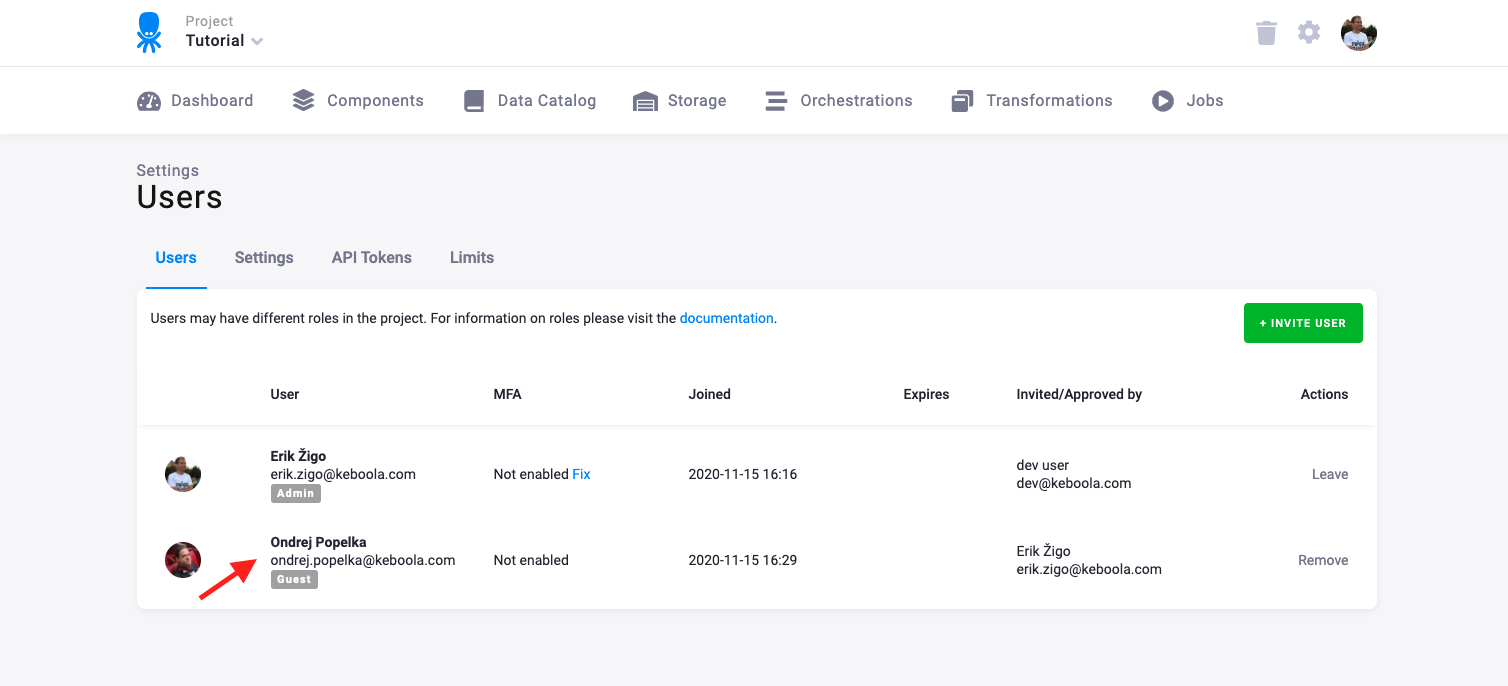
Section titled “Existing User”If the added user already has a Keboola account, you will see their screen name in the user list right away:
The user will receive an email invitation:
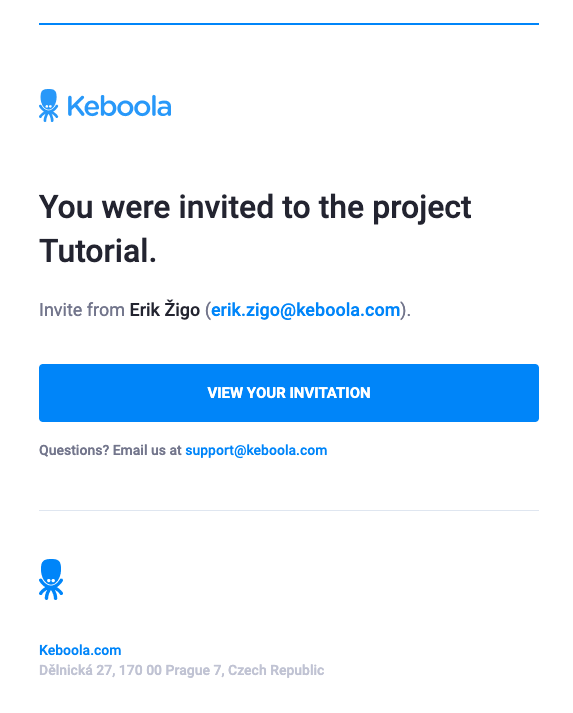
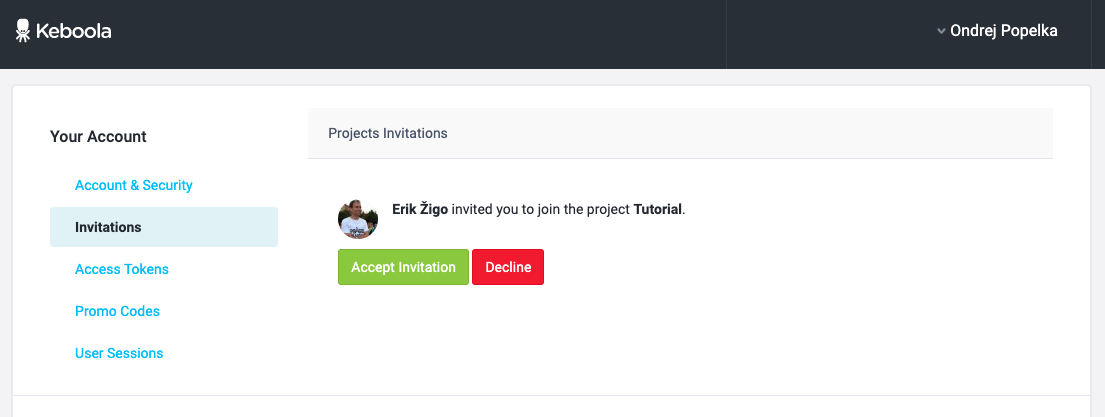
The link leads to the account settings where the user can see their pending invitations:
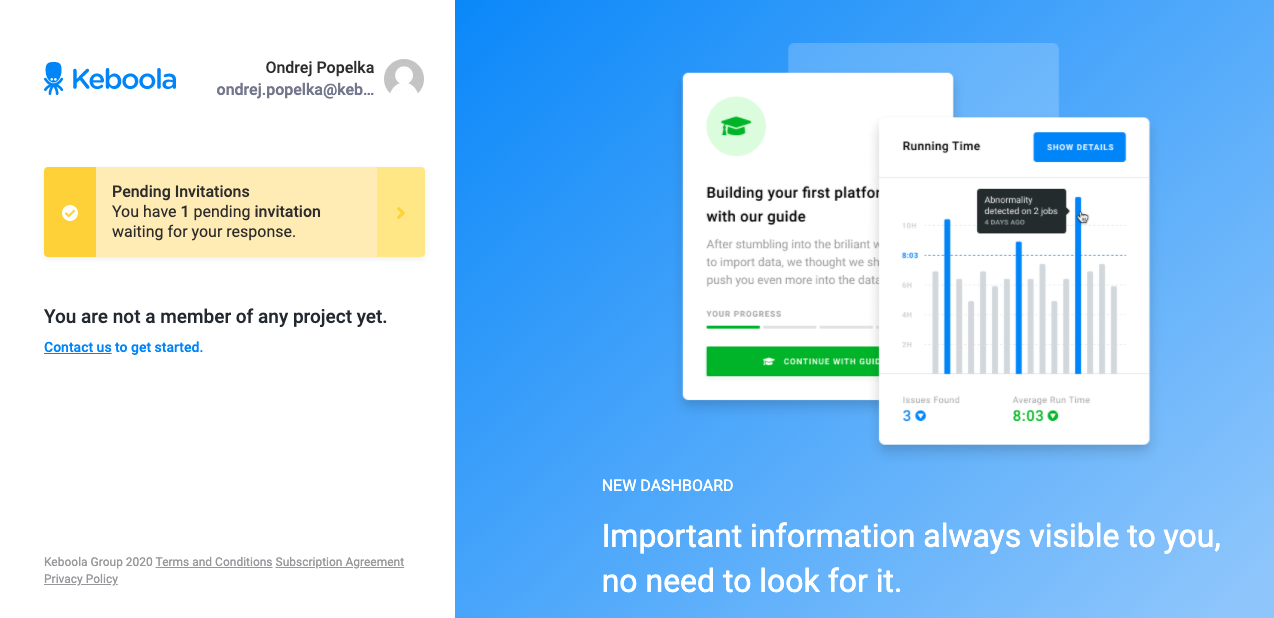
Invitations are also shown on the welcome screen with the project list:
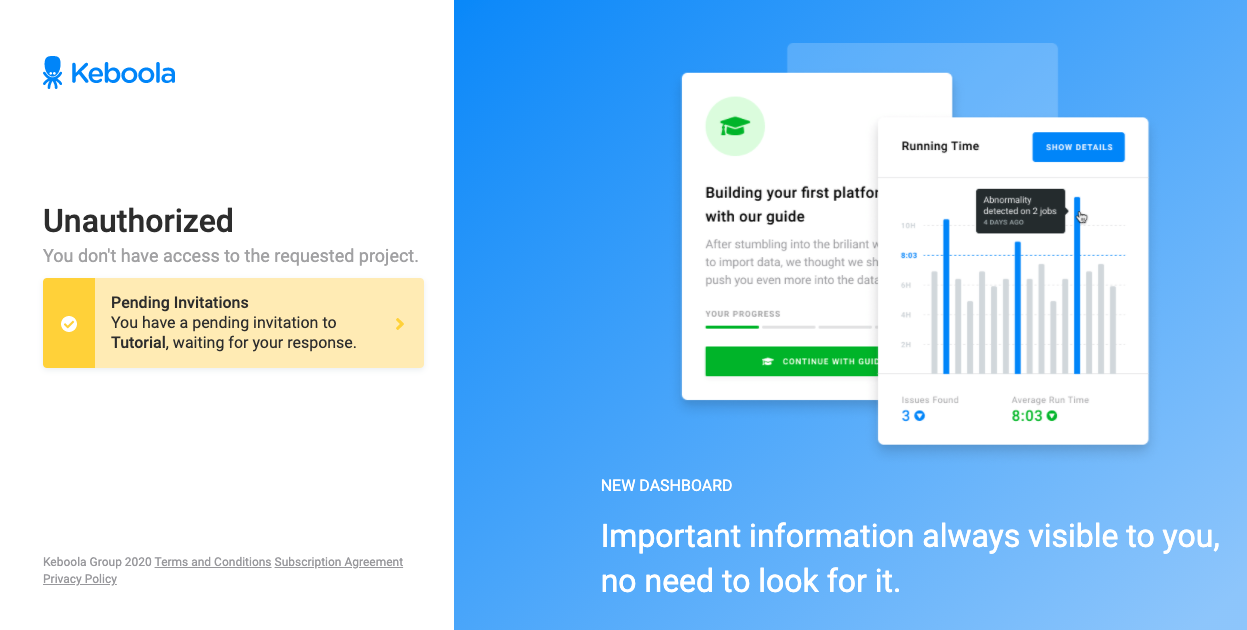
Until the user accepts the invitation, they are not allowed to enter the project:
Once the invitation is accepted, the user becomes a member of the project:
Changing User Role
Section titled “Changing User Role”You can change the role of an existing project member directly from the user list. Click the action menu (three dots) next to the user and select Change Role:
A modal dialog will appear, allowing you to select a new role from the available options. The available roles depend on your project setup:
- Standard projects — Share, Admin, Guest, and Read Only.
- Governed Change Management projects — Production Manager, Developer, and Reviewer.
Who can change roles
Section titled “Who can change roles”- In standard projects, users with the Admin or Share role can change roles of other users. The Share role can only be assigned by an organization member.
- In projects with Governed Change Management active, the Production Manager can change roles of other users.
Note: Changing roles is not available when SAML-based role management is enabled.
Removing User
Section titled “Removing User”You may remove a user from a project by clicking the Remove button in the user list. The user will receive a notification email about being removed from the project. The removal is effective immediately. Any following operations will be unauthorized, regardless of whether the user will be logged in at the moment or not. Removing a user from a project has no effect on the data in it; everything the particular user did there stays untouched. You can also leave a project voluntarily by pressing the Leave button.
Who Can Access Project
Section titled “Who Can Access Project”It is important to understand the concept of organizations to asses what persons might be able to access a specific project. For a quick overview, here is a complete list of persons able to access a given project:
- Active users of the project (listed on the Users tab of the Settings page)
- Users invited to the project (listed on the Users tab of the Settings page with the note Invited)
- Users of the organization to which the project belongs
- Users of the maintainer to which the project organization belongs, provided that Auto Join is enabled
- Keboola support staff, provided that Auto Join is enabled
No other user can enter the project. If Auto Join is disabled, maintainer users and Keboola Support staff can see the name of the project and request access which must be approved by a current member of the project.
Authentication
Section titled “Authentication”There are three options for authenticating a Keboola account:
- Google account
- Combination of an email address and the associated password
- Combination of an email address and the associated password with multi-factor authentication
The options are described in detail below.
Google Account
Section titled “Google Account”If you have a Google Account (Gmail), you can use it to authenticate to Keboola. Click the respective button on the login page:
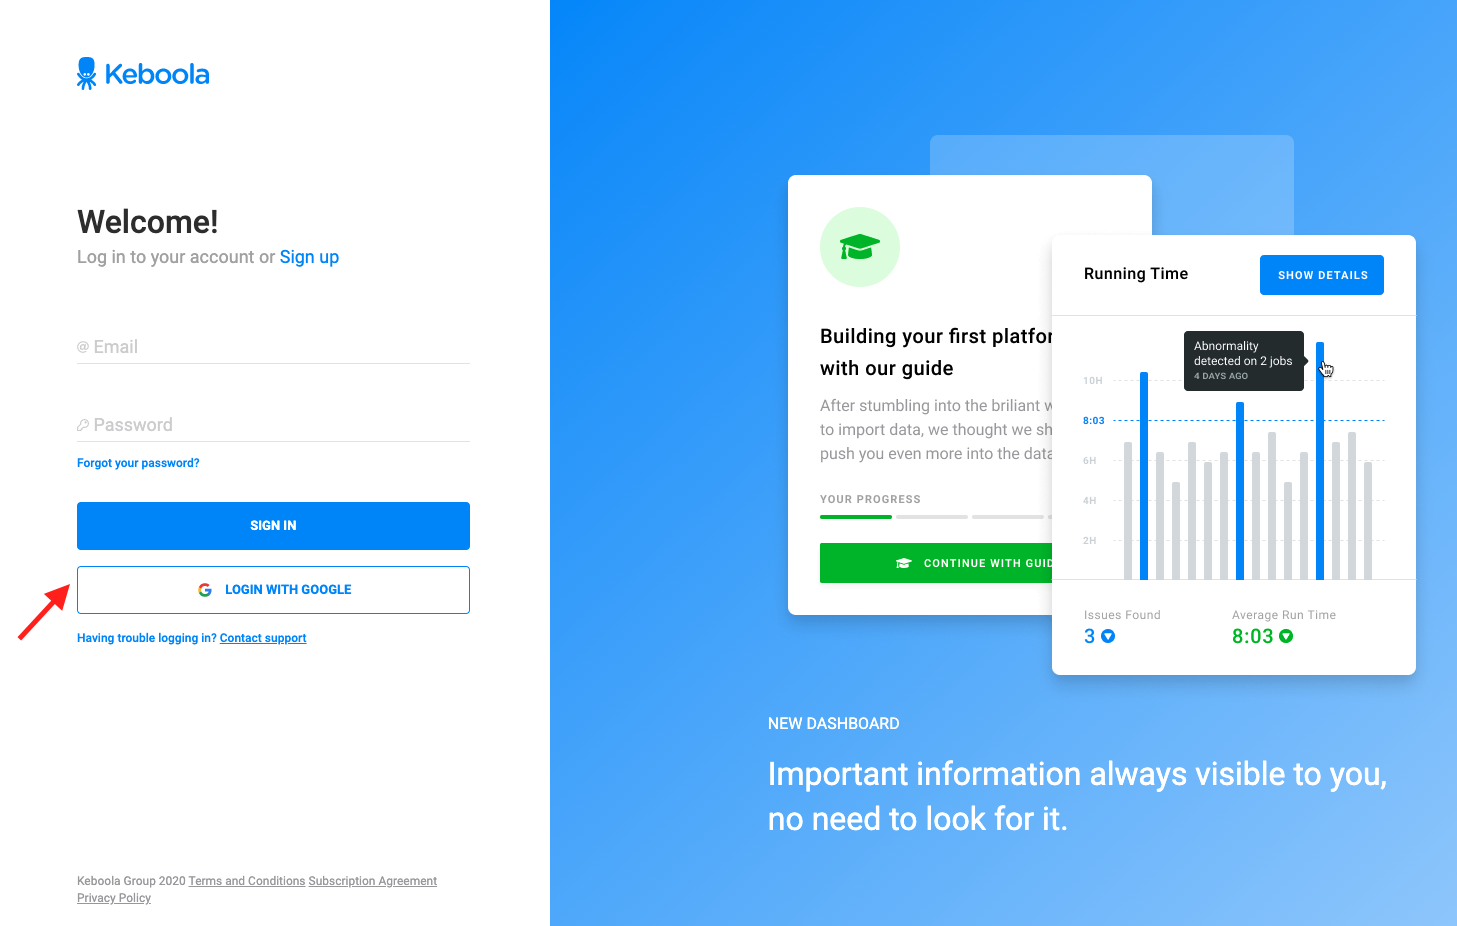
Then follow the Google instructions to authorize Keboola. No configuration in Keboola is necessary to enable Google Account login. Bear in mind, however, that the Google Account email must match the email you are using in Keboola.
Multi-Factor Authentication
Section titled “Multi-Factor Authentication”Enable multi-factor authentication (MFA) in your account settings. You can review the state of MFA for any user in the user list:
Authorization
Section titled “Authorization”All users listed on the Users & Settings page are project administrators. This means they can perform all operations within the project. If you need to limit authorization to certain operations or data, there are two options to choose from:
- Split the project into multiple projects.
- Use Storage Tokens instead of full user accounts.