Google Analytics 4 (GA4)
This data source connector allows you to integrate your Google Analytics 4 data into the Keboola environment. To do that, you will need a Google Analytics account with at least one GA4 property.
Features
Section titled “Features”The Google Analytics connector uses the Google Analytics Data API (v1), which provides:
-
Flexible metrics and dimensions --- Query any combination of GA4 metrics and dimensions available in your property.
-
Multiple date ranges --- Get data in up to four date ranges in a single request, useful for period-over-period comparisons.
-
Dimension and metric filters --- Filter the report data server-side before it reaches Keboola.
How Data Loading Works
Section titled “How Data Loading Works”There are two distinct “incremental” concepts in this connector:
| Concept | What it means | How it’s controlled |
|---|---|---|
| Incremental storage writes | Data is always upserted into Keboola Storage tables using primary keys. Existing rows with matching keys are updated; new rows are appended. Old data is never deleted or replaced. | Always on — this is hardcoded in the connector and cannot be changed. |
| Incremental date fetching | The connector fetches only data since the last successful run instead of re-downloading a fixed date range each time. | Optional — controlled by the “Incremental load” checkbox in the date range settings. |
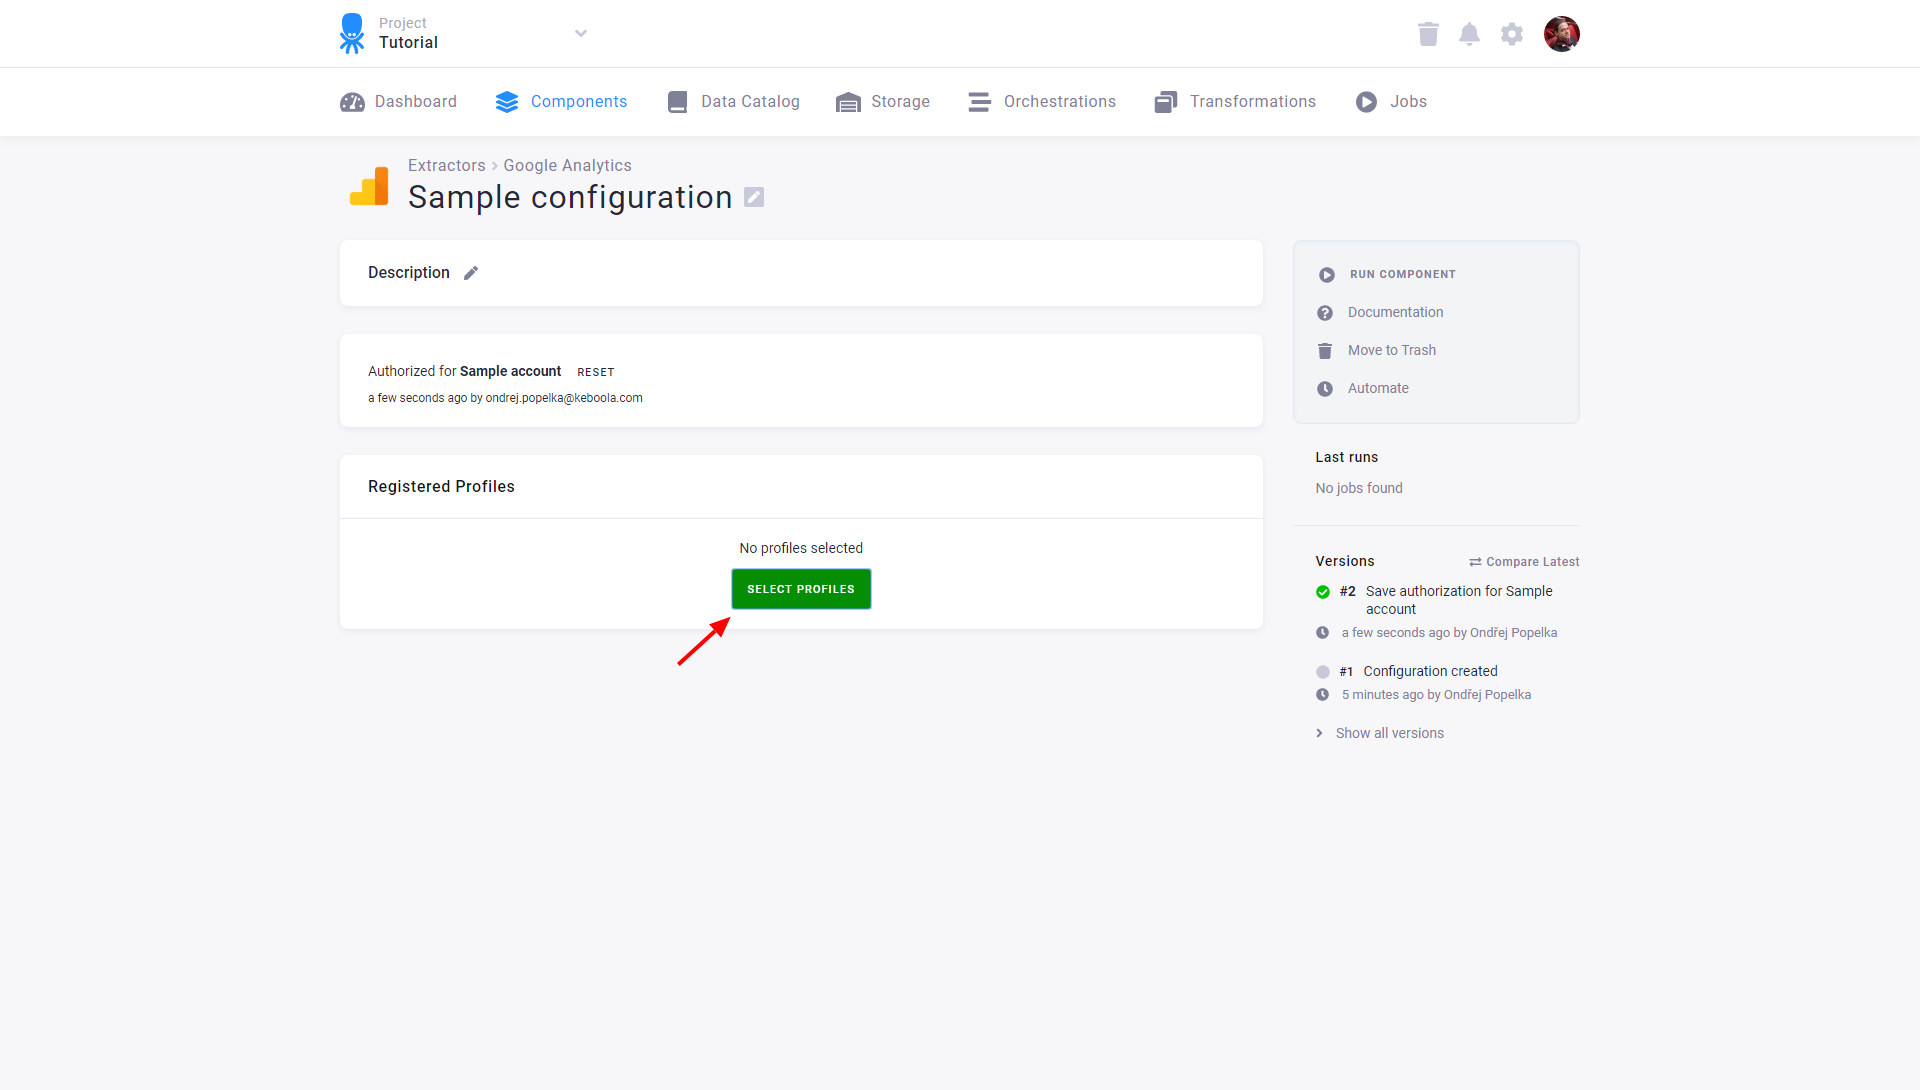
Configuration
Section titled “Configuration”Create a new configuration of the Google Analytics connector. Then click Authorize Account to authorize the configuration. Select the desired Google Analytics account and GA4 properties from which you would like to extract data.

Create a New Query
Section titled “Create a New Query”Each query consists of metrics, dimensions, and a date range. Optionally, it can be filtered.
-
Name your output table in Storage, for example,
sessions_overview. -
From the metrics selector, choose the desired metrics (e.g.,
sessions,totalUsers,screenPageViews). -
From the dimensions selector, choose dimensions (e.g.,
date,sessionSource). -
Configure the date range (default is last 4 days).
-
Click Test query to preview results.
-
Save your query when you are satisfied with the results.
-
To run the extraction, click the “play” icon on the query list page.
Date Ranges
Section titled “Date Ranges”A date range specifies a time window from which the data will be extracted. You can use any expression compatible with the PHP strtotime() function.
Multiple date ranges are useful when you want to compare metric performance across periods. For example, you can compare sessions this month to the same period last year without downloading all historical data.
Incremental Date Fetching
Section titled “Incremental Date Fetching”When you want to download only data that appeared since the previous extraction run, enable Incremental load in the date range settings. This sets the start date to the date of the last successful run.
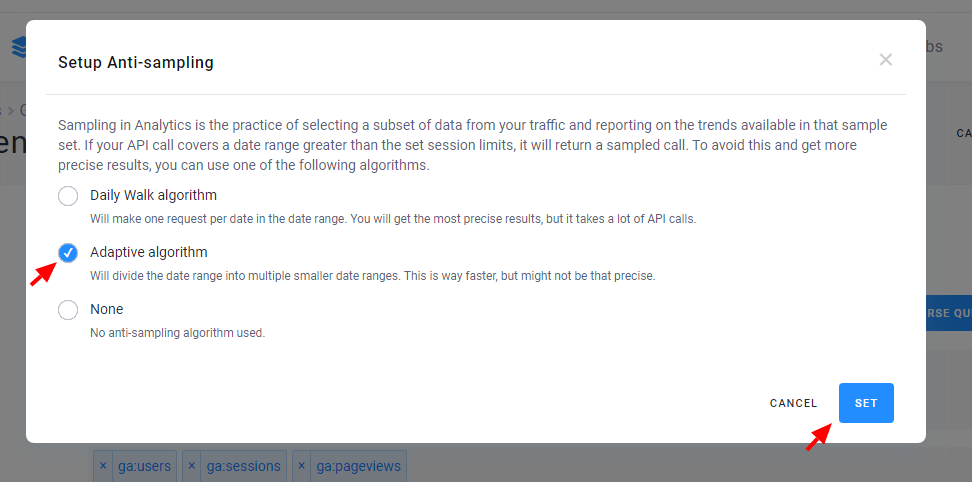
Anti-Sampling
Section titled “Anti-Sampling”The Google Analytics API does not always return precise data. Under certain circumstances, the data returned is sampled. To work around this problem and get more precise results, choose the DailyWalk anti-sampling algorithm. It divides the date range into daily chunks, making separate requests for each day.
You can configure anti-sampling in the query detail.
Dimension and Metric Filters
Section titled “Dimension and Metric Filters”Filters allow you to limit the data included in a report. For example, you can filter by a specific country, traffic source, or device category.
Learn how to construct filters in the GA4 Data API documentation.
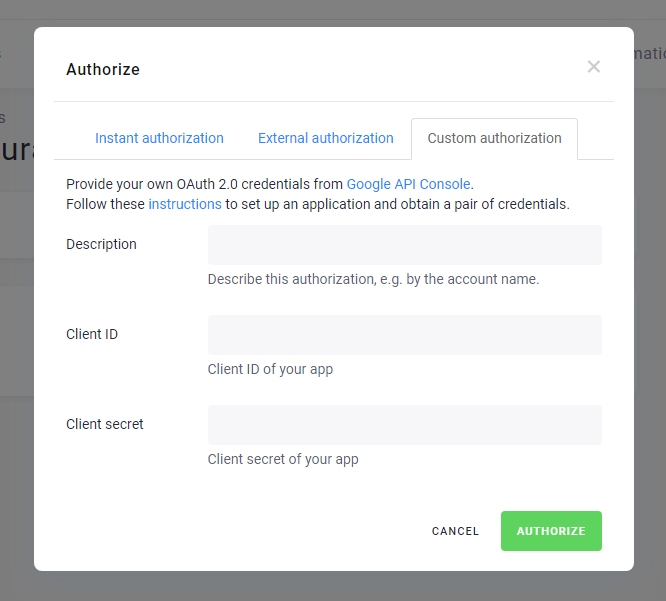
Custom OAuth Credentials
Section titled “Custom OAuth Credentials”To avoid hitting quota limits, you can use your own OAuth Client ID and Secret:
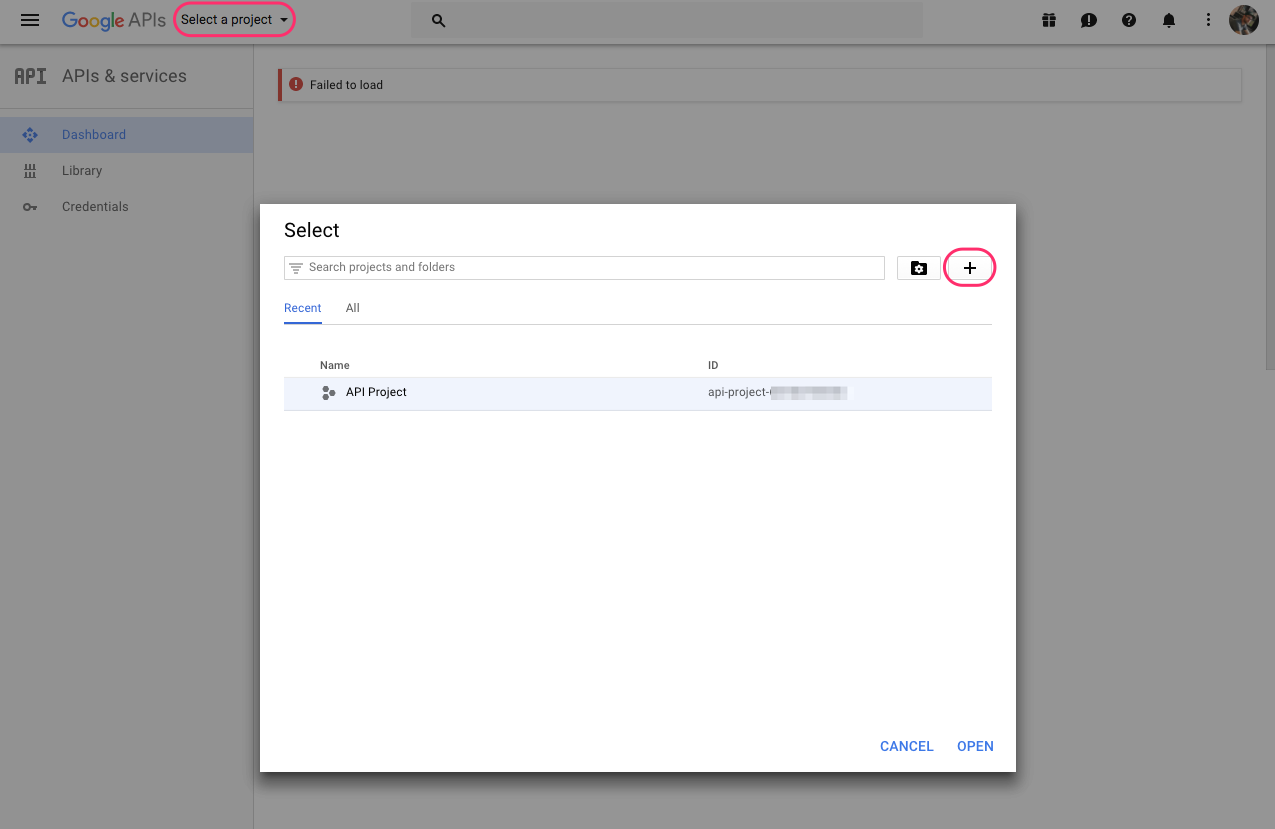
- Visit the Google API Console.
- Select an existing project or create a new one.
- Enable the Google Analytics Data API and Google Analytics Admin API.
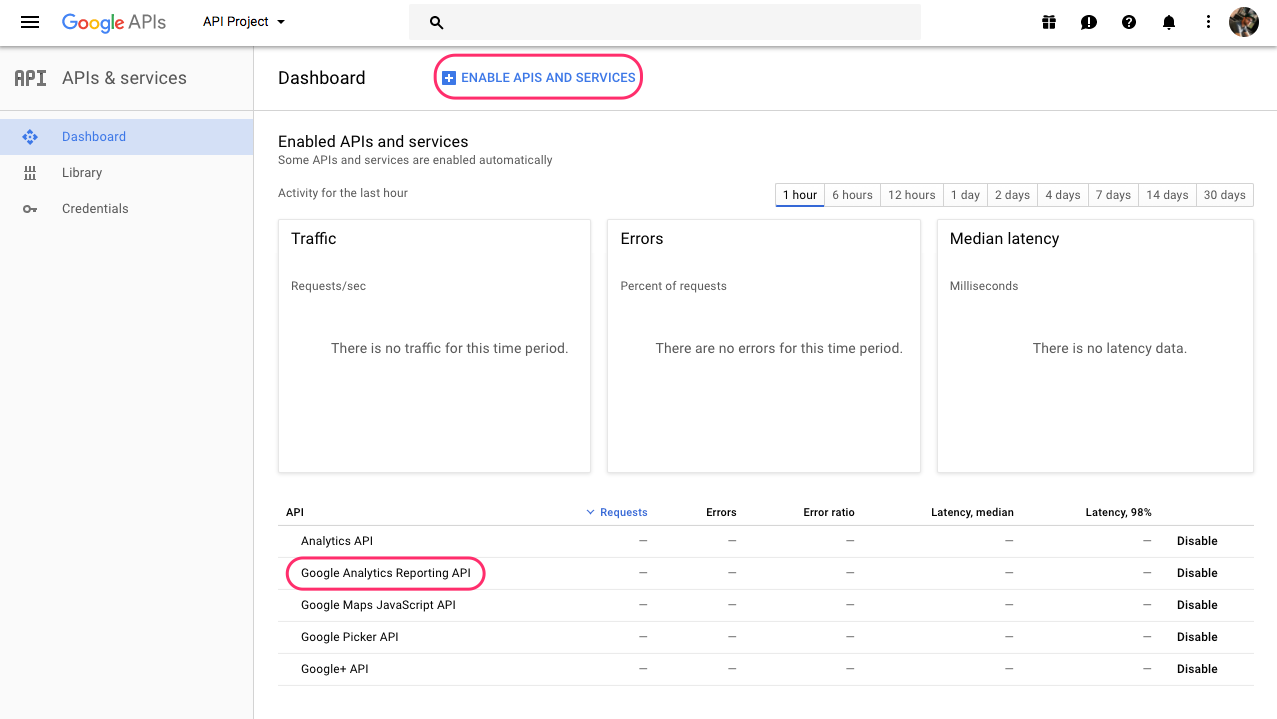
- Select the Credentials section from the menu on the left, click the Create credentials button and select OAuth client ID.

-
Choose Web Application. Into Authorized redirect URIs insert:
https://oauth.keboola.com/authorize/keboola.ex-google-analytics-v4/callback- or
https://oauth.eu-central-1.keboola.com/authorize/keboola.ex-google-analytics-v4/callback - or
https://oauth.north-europe.azure.keboola.com/authorize/keboola.ex-google-analytics-v4/callback
-
Click Create and a popup window will display your new Client ID and Client Secret credentials.
-
Find your credentials in the list of available credentials. You should see something like this:
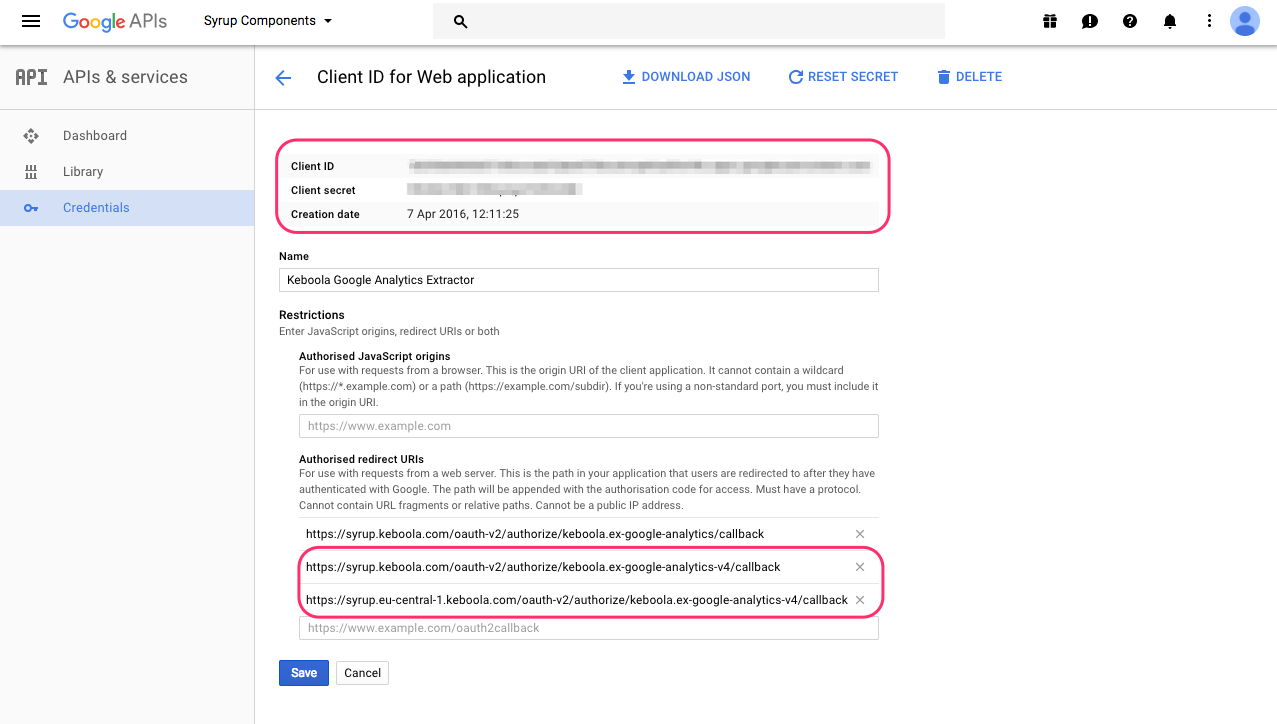
- You can now use these credentials in the Custom Authorization tab when authorizing the Google Analytics data source connector.